Auto-scale: Cost Optimization Session Host VM OS Disk Storage
There are two types of costs associated with a VM - compute costs and storage costs. Compute costs are incurred only when the VM is in use, while the storage costs are incurred even when the VM is stopped.
The Running OS disk size and Stopped OS disk type settings, along with other auto-scale settings, provide up to 75% storage cost savings. The auto-scale logic can automatically change the OS disk type of VMs in both pooled and personal host pools to a cheaper storage tier (from premium SSD to standard HDD), while the host VM is powered off, and back to the higher performance tier immediately before it is started.
To configure Running OS disk size and Stopped OS disk type settings on your session hosts:
-
Locate the host pool you wish to work with.
-
From the action menu, select Auto-scale > Configure.
-
In the Auto-Scale section, configure the following:
-
Running OS Disk (Template): From the drop-down list, select the running disk type.
-
Stopped OS Disk Type: From the drop-down list, select the stopped disk type.
-
-
Once you have changed the parameters above, select Save & close.
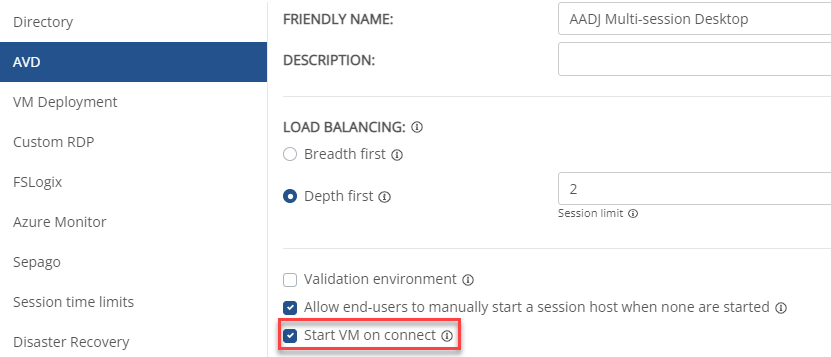
Note: With Azure's Start VM on connect feature, VMs can be powered on outside of Nerdio Manager and may override Running OS disk size and Stopped OS disk type. That is, a VM powered on by the Start VM on connect feature is not able to change the disk performance. Instead, we recommend configuring Pre-stage to enable "Set all hosts to running os disk type" if Start VM on connect is enabled with storage scaling.
For a single-user host pool that has schedule-based auto-scaling, you can configure the Host OS Disks in and out of working hours. For example, you can specify Premium SSD when the VM is running and Standard SSD when the VM is stopped, thus saving on Azure storage costs
To configure Host OS disks:
-
Navigate to Workspaces > Dynamic host pools.
-
Locate the single-user host pool you wish to change.
-
From the action menu, select Auto-scale> Configure.
-
In the Host OS Disks section, configure the following:
-
Running: From the drop-down list, select the disk type when the VM is running.
-
Stopped: From the drop-down list, select the disk type when the VM is stopped.
-
-
Once you have changed the parameters above, select Save & close.
For a multi-user host pool that has its Minimum Active Host Capacity set to 0, you can configure the system so that all stopped VM OS disks are automatically converted to Running OS Disk type during the pre-staging hours. This is necessary to ensure that if a VM is started via Azure Start VM on Connect that it has the proper high-performance disk type.
To configure the pre-staging OS disk type conversion:
-
Locate the single-user host pool you wish to work with.
-
From the action menu, select Auto-scale> Configure.
-
In the Pre-stage Hosts section, configure the following:
-
If necessary, enable Pre-stage hosts.
-
Set all host to running OS disk type: Select this option.
-
Set the pre-stage time as desired.
-
-
Once you have entered all the desired information, select Save & close.
-